
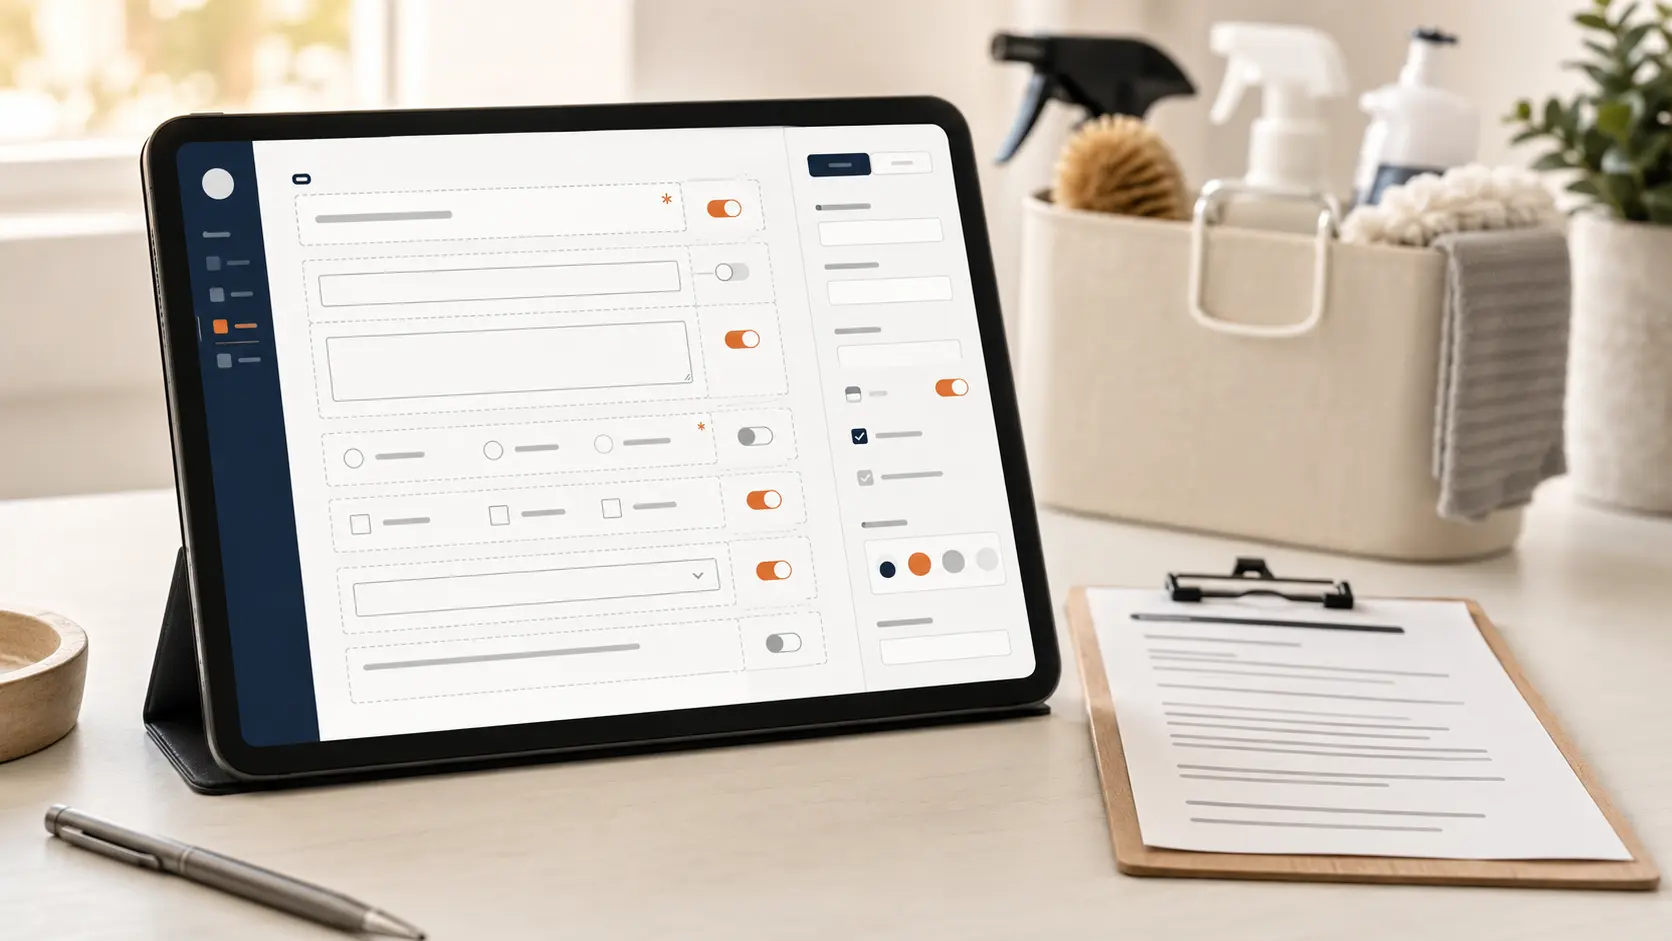
BEFORE YOU BUILD
Decide what the form must accomplish—and where it should stop.
The form should collect enough information to understand the request and choose the next step. It should not try to replace the estimate conversation, property walkthrough, access handoff, scheduling agreement, or payment process.
For most residential cleaning inquiries, the practical goal is simple: identify the customer, understand the property and requested service, spot conditions that affect the work, and make it easy for someone on the team to follow up.
THE QUESTION SET
Start with nine questions that earn their place.
Use one short-answer field. Ask for a business name separately only if commercial inquiries are accepted.
Collect the best number for estimate and scheduling questions.
Useful for written estimates, preparation details, and records.
Ask for street address, unit when applicable, city, and ZIP code.
Use a structured date field when sorting or availability checks depend on the answer.
Keep the format clear so answers are easy to compare.
Offer choices such as standard, deep, move-in or move-out, one-time, weekly, biweekly, and monthly.
A paragraph field helps the customer explain what matters most without turning every possibility into a checkbox.
Ask only for planning details. Explicitly tell customers not to enter passwords or alarm codes.
REQUIRED FIELDS
Require what blocks the next step—not every possible detail.
Name, at least one dependable contact method, service address, service type, and basic property size usually deserve required status. Without them, the inquiry may be impossible to qualify.
Priorities, preferred date, pets, and product restrictions can also be required when they change your normal process. But making every field mandatory increases the chance that a customer invents an answer just to finish.
Our hands-on test exposed a common setup mistake: only one of nine questions was required in the published form. The form still looked complete and accepted both submissions. Required status must be checked question by question before launch.
QUESTION TYPES
Choose the field type based on what you need to do with the answer.
Use for names, phone numbers, email addresses, and compact property details.
Use for a preferred date when consistent sorting matters. A short-answer date can produce several formats.
Use when only one service type or frequency should be selected.
Use only when several answers can all be true, such as priority areas or applicable conditions.
Use for priorities and limited planning notes. Give a clear boundary so the field does not become a place for sensitive credentials.
LINK THE RESPONSE SHEET
Create the destination before real inquiries begin.
Open the form’s Responses area and select a response destination. Google Forms can create a new spreadsheet or connect responses to an existing Google Sheet. For a new intake system, a dedicated response workbook is usually easier to recognize and protect.
Name the Drive form before creating the linked workbook. In our test, the customer-facing form heading looked correct, but the Drive file remained untitled. The response workbook inherited that weak name and had to be renamed manually.
Do not rearrange the raw response columns casually. If the team needs status, owner, estimate amount, or follow-up date columns, keep them clearly separated from the fields populated by the form.
DATA SAFETY
Collect less sensitive information, not more.
A cleaning intake form may involve home addresses, schedules, pets, and access planning. That makes restraint part of the setup. Ask what is needed to evaluate the work, then handle sensitive access credentials through a controlled process closer to the appointment.
Limit who can open the response sheet. Use individual account access rather than sharing one password. Review old responses periodically and keep the working file out of broadly shared folders.
PRE-LAUNCH TEST
Submit the form like a confused customer would.
- Try to submit it incomplete.
Confirm that every field needed for follow-up actually blocks submission when empty.
- Use awkward but realistic answers.
Try a unit number, a phone format with spaces, several priorities, and a preferred date near the edge of availability.
- Check the confirmation message.
Tell the customer what happens next without promising a response time the business cannot maintain.
- Inspect the response sheet.
Verify that every answer lands under the correct heading and the timestamp appears.
- Test on a phone.
Make sure long questions, choices, and the final submit action remain easy to read and tap.
- Export one sample.
Confirm the response workbook can be downloaded and opened before treating export as a backup plan.
AFTER SUBMISSION
Give every response an owner and a next action.
A clean row does not guarantee follow-up. Decide who checks responses, how often they check, and what status labels the team will use. A simple workflow might be New, Contacted, Estimate scheduled, Estimate sent, Won, Lost, and Not a fit.
Add internal columns for owner, next action, next-action date, estimate status, and notes. Keep those columns out of the form itself. The customer supplies inquiry facts; the team records what happens next.
When copying information into a calendar, estimate tool, or CRM becomes repetitive or unreliable, the business has outgrown a form-and-sheet-only process. That is the time to test automation or a connected system.
SOURCES AND EVIDENCE
What this setup guide is based on.
A published nine-question form, two fictional submissions, linked response sheet, naming check, required-field check, and XLSX export.
Read the tested verdict →Google’s current help documentation for publishing and sharing a form with respondents.
Read Google’s guidance →Google’s current help documentation for viewing and managing form responses.
Read Google’s guidance →